 Save
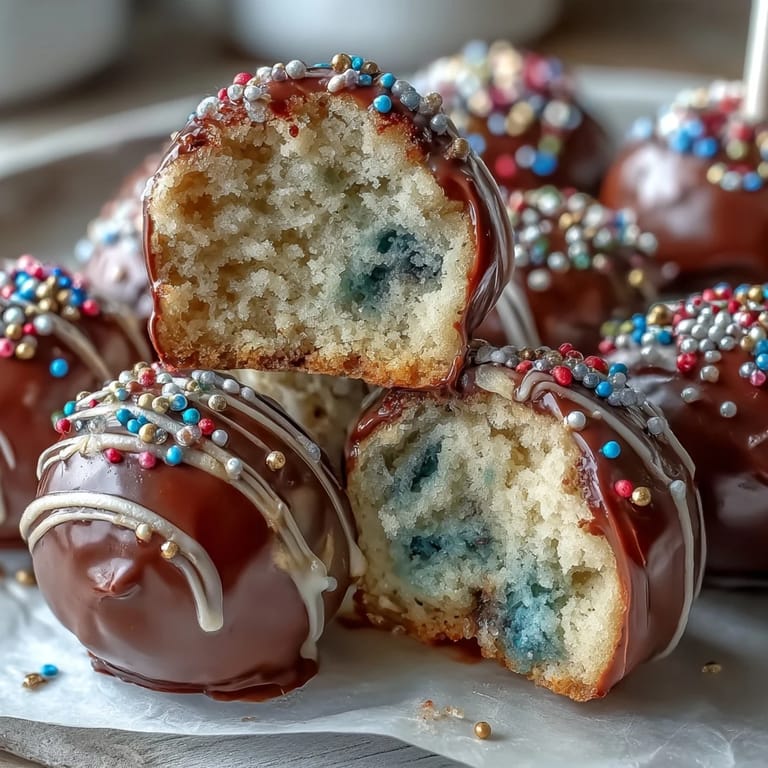
Save My friend texted me three weeks before graduation asking if I could make something special for the celebration party—something that screamed school spirit without being too serious. That's when I started experimenting with cake pops in her school colors, realizing halfway through the first batch that gold sprinkles could turn simple sugar-coated spheres into tiny edible confetti. The first time I nailed the ratio of frosting to crumbles, I felt genuinely proud, the kind of satisfaction that comes from creating something both delicious and meaningful.
I still think about setting up my whole workspace for the first graduation party where I served these—bowls of melted candy colors lined up like a paint palette, Styrofoam standing there ready to catch the finished pops, and someone's little sister sneaking a sprinkle-covered pop before it even hardened. That moment made it real: these weren't just desserts, they were part of someone's memory of leaving high school.
Ingredients
- Vanilla or chocolate cake mix: A box of mix saves time and guarantees consistent results—I've tried from-scratch and honestly, box mix here lets you focus energy on the decorating part that actually makes these special.
- Unsalted butter and powdered sugar: The frosting is your binding agent, so don't skip on butter quality; softened butter beats hard butter every time and makes mixing smoother.
- Milk and vanilla extract: These add moisture and flavor to the frosting—milk especially prevents the mixture from becoming gummy when you're stirring in all that sugar.
- Candy melts in school colors: Two-color coating creates visual impact; buy melts specifically made for coating since they set faster and smoother than chocolate chips.
- Vegetable shortening or coconut oil: Optional but genuinely helpful—it thins the melted coating just enough to prevent thick, crackly shells that look amateur.
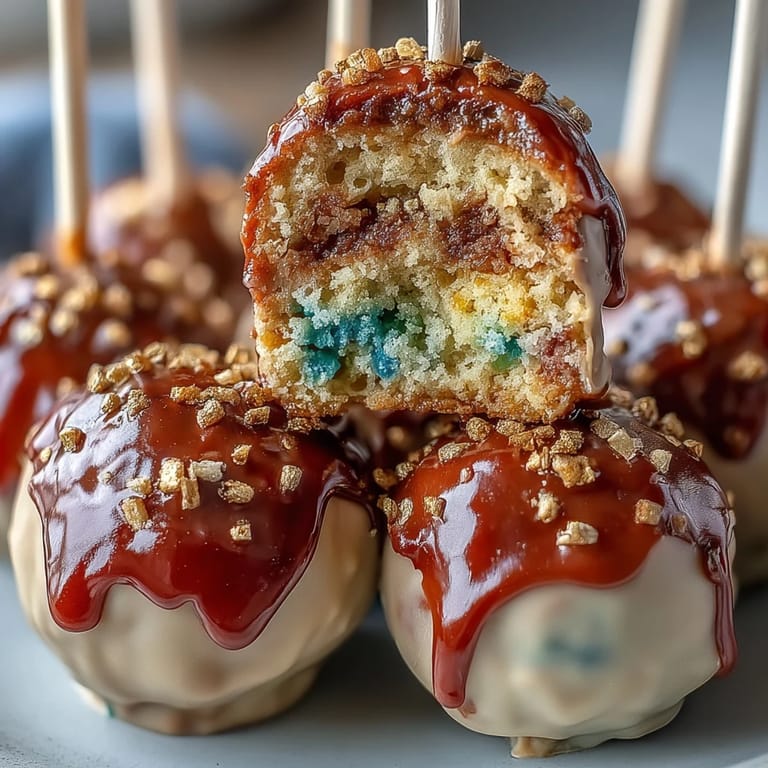
- Gold sprinkles or edible gold glitter: These are the signature detail, the thing that catches light and says celebration.
- Lollipop sticks: Standard craft sticks work, but cake pop sticks are slightly thicker and hold up better during dipping.
Tired of Takeout? 🥡
Get 10 meals you can make faster than delivery arrives. Seriously.
One email. No spam. Unsubscribe anytime.
Instructions
- Bake your cake base:
- Follow the box instructions exactly—don't get creative here, just get a fully cooled cake that you can crumble without it being warm and sticky. This cooling step matters more than people think because warm cake releases moisture that throws off your crumb-to-frosting ratio.
- Mix a simple frosting:
- Cream butter until it's pale and fluffy, which usually takes about two minutes with an electric mixer. Add powdered sugar gradually so it doesn't cloud your kitchen, then milk, vanilla, and salt—the result should look like thick buttercream that holds peaks when you lift the beaters.
- Combine cake and frosting:
- Crumble the cooled cake into a bowl—use your hands for this, it's honestly faster and more satisfying. Add frosting slowly while mixing, stopping when the mixture just holds together; too much frosting and your pops become sticky gooballs that slide off sticks mid-dip.
- Roll and chill the balls:
- Portion the mixture into 24 similar-sized balls using a tablespoon—consistency here matters because uneven sizes mean some pops cook faster than others when you dip. Chill for at least an hour, and yes, this step is non-negotiable; warm cake balls will sag when they hit warm candy melts.
- Anchor the sticks:
- Melt a small amount of candy melts and dip just the tip of each stick, then push it halfway into a chilled ball. This pre-coating stops sticks from sliding around inside the pop or tearing the cake mixture apart.
- Dip into color:
- Melt your school colors in separate bowls and add shortening if the mixture seems thick—you want it to flow easily without being soupy. Hold each pop by its stick, submerge quickly, and twist gently as you lift it out to shed excess coating.
- Add gold while wet:
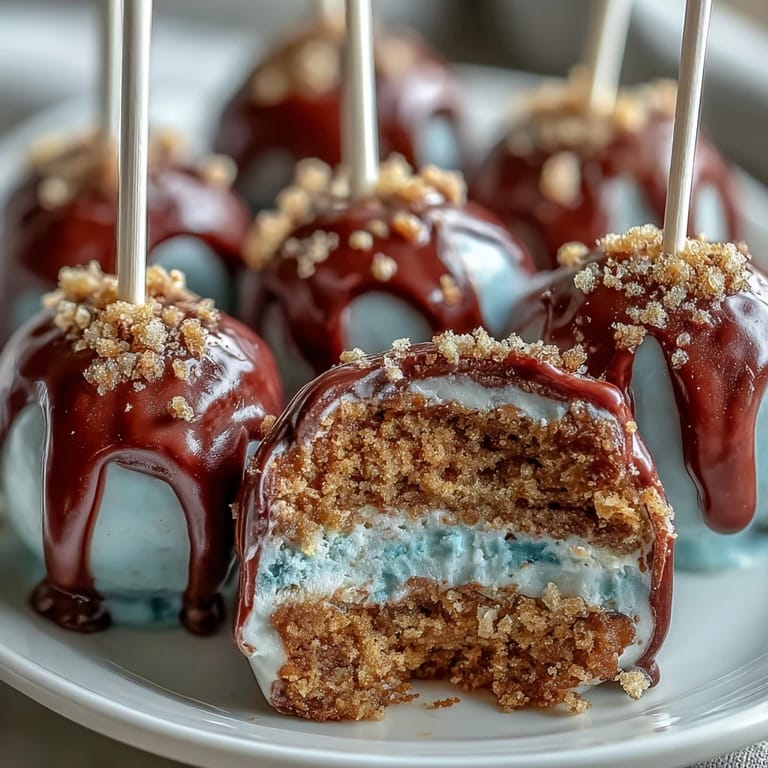
- Sprinkle gold while the candy coating is still tacky so the sprinkles actually stick rather than sliding off later. This is the moment they stop being cake pops and become graduation party pops.
- Set and harden:
- Place pops upright in your Styrofoam block and leave them alone until the coating is completely set, which usually takes 20 to 30 minutes. Resist the urge to touch them before they're hard or you'll create thumb-shaped divots.
 Save
Save There's a moment when you pull your first finished pop out of the Styrofoam and the light catches the gold sprinkles just right, and you realize you've made something worth the effort. These pops stopped being just a dessert and became something people photograph and share and remember as part of a bigger celebration.
Why These Work for Celebrations
Cake pops are portable joy—you can hand someone a decorated pop and they get a complete bite of cake, frosting, and crunch all at once without needing a plate or fork. They photograph beautifully enough that people actually want to post them, which might sound shallow but honestly makes the baker feel appreciated in a very modern way.
Flavor Combinations That Hit
Vanilla cake with one school color dipped in the other creates a bright, unexpected contrast that makes people stop and really look at what they're eating. Chocolate cake works too if your school colors are bright enough to show up—I once made chocolate pops in silver and royal blue, and the contrast was stunning enough that a photo made it into the school yearbook.
Storage and Make-Ahead Strategy
These actually improve slightly after a day because the flavors settle and meld—that initial candy shell taste mellows into something more balanced. Room temperature storage works for three days if your kitchen isn't too warm, but refrigerating extends that to a week and keeps the coating from softening in humidity.
- Make the cake and frosting the day before, chill overnight, then roll and dip the morning of the event for maximum freshness.
- If you're nervous about the dipping process, practice with two or three pops first to get your timing and technique down before the full batch.
- Don't package them in airtight containers until they're completely cool, or condensation will make the coating sticky.
 Save
Save These cake pops turn graduation parties from standard to memorable, one gold-dusted bite at a time. Make them, watch people's faces light up, and know you've created something that tastes as good as it looks.