 Save
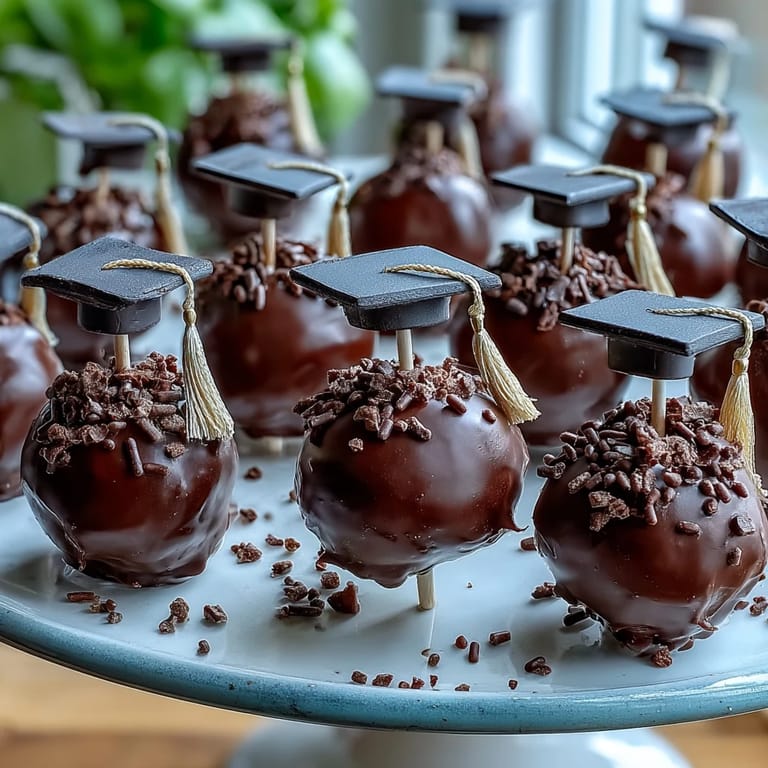
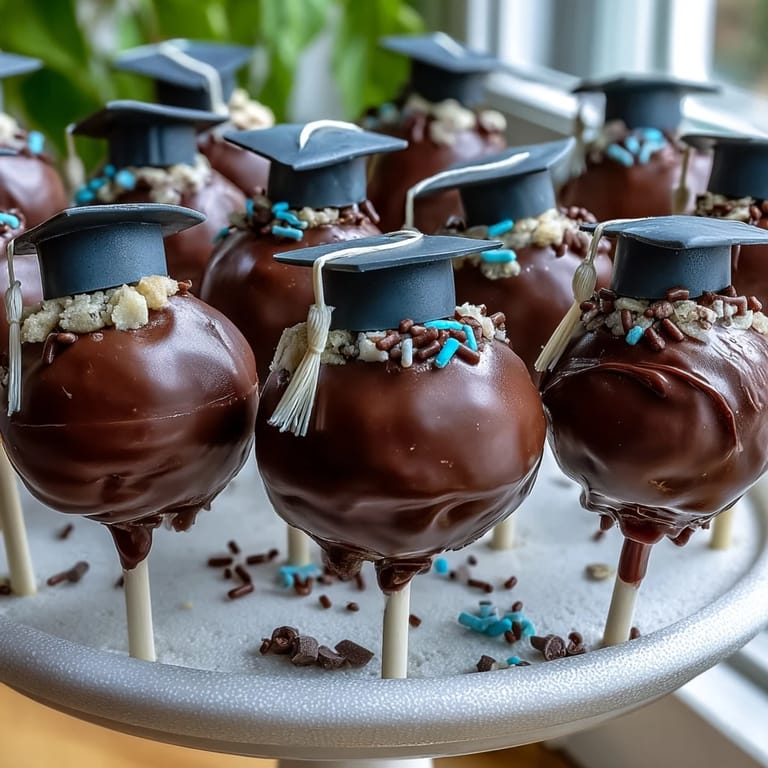
Save The first time I made these graduation cake pops I learned that the kitchen smells like warm vanilla and excitement when a dozen candy melts are melting on the counter while a Bluetooth playlist plays celebratory songs in the background.
I once made a batch for a school send off and ended up decorating late into the evening with three friends who insisted on testing every color combination until the pops looked just right.
Ingredients
- Cake: Use a box mix or a cooled homemade 9 inch cake because a sturdy crumb makes shaping much easier.
- Frosting: Half a cup of cream cheese frosting or buttercream is enough to bind the crumbs without becoming greasy.
- Candy melts or chocolate: About 12 oz in your school colors will give you smooth coverage and vibrant color.
- Vegetable shortening: Two tablespoons can loosen thick coating for a cleaner dip.
- Sprinkles and edible glitter: Choose coordinating decorations for instant polish and texture.
- Lollipop sticks: You need 24 sturdy sticks to make the pops easy to hold and serve.
- Mini chocolate chips and fondant: These work great for tiny tassels and cap accents when you want detail.
Tired of Takeout? 🥡
Get 10 meals you can make faster than delivery arrives. Seriously.
One email. No spam. Unsubscribe anytime.
Instructions
- Bake and cool:
- Bake the cake following package or recipe directions and let it cool completely until it feels room temperature to the touch so crumbs do not clump with steam.
- Crumble the cake:
- Break the cooled cake into fine crumbs with your hands or a fork and enjoy the soft cloud like texture.
- Mix with frosting:
- Add the frosting a little at a time and fold until the mixture holds together when pressed without getting greasy.
- Shape into balls:
- Scoop tablespoon sized portions and roll into even balls for consistent sizes and baking free presentation.
- Chill the centers:
- Place the balls on a lined tray and chill in the fridge for at least one hour or freeze for twenty minutes to firm up for dipping.
- Melt the coating:
- Warm candy melts in short microwave bursts stirring between each until smooth and glossy and add a touch of shortening if it feels too thick.
- Anchor the stick:
- Dip the tip of each stick into coating then insert it halfway into each cake ball to secure the stick into the center.
- Dip and tap:
- Fully immerse each pop in coating then tap gently to remove excess and create an even shell.
- Decorate quickly:
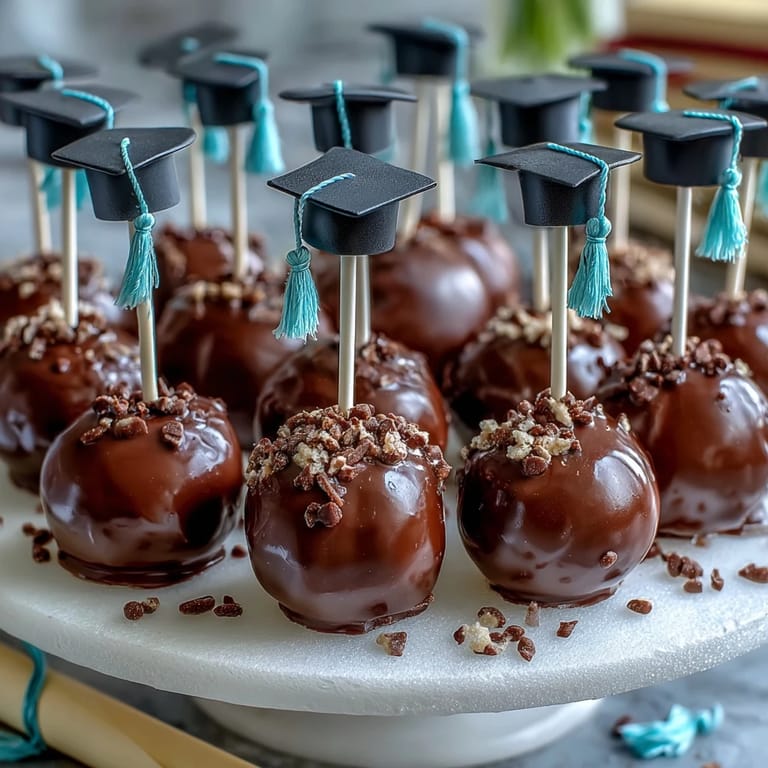
- While the coating is still wet add sprinkles or press a fondant square on top for a cap and attach a mini chip for a tassel.
- Set to finish:
- Stand the pops upright in a foam block or cake pop stand and let the coating harden completely before serving.
 Save
Save At one graduation I watched a teacher hand a pop to a shy student who then grinned and started telling me about their college plans and for a moment this dessert became a tiny rite of passage.
Timing and planning
Allow time for cooling and chilling because rushing the process is the fastest way to end up with cracked coatings or collapsed pops.
Tools that help
A microwave safe bowl for melting and a foam block or stand for drying make the whole assembly line feel calm and manageable even with a crowd helping.
Decoration shortcuts
Simple swaps like using sprinkles for mortar or fondant squares for caps speed things up while still looking polished.
- For neat tassels press a mini chocolate chip onto the fondant with a dab of melted coating.
- To thin coating add a small amount of vegetable shortening until it flows smoothly.
- Store finished pops upright in a shallow box with crumpled paper to prevent rolling.
 Save
Save These cake pops are small gestures that turn into big smiles so make a few extras and enjoy the way they bring people together.
Recipe Questions & Answers
- → How do I keep cake pops from falling off the stick?
Chill the rolled balls thoroughly before inserting sticks, and dip each stick tip in melted coating before pushing into the ball about halfway to create a secure anchor.
- → Why do cracks appear in the coating?
Coating can crack if it cools too quickly or if the pop is too cold; allow pops to come closer to room temperature before dipping and avoid very cold refrigeration during setting.
- → How can I thin candy melts for smoother dipping?
Warm in short increments and stir between bursts; add small amounts of vegetable shortening to loosen thick coating until it reaches a smooth, dippable consistency.
- → What are easy ways to match school colors?
Use colored candy melts when possible or tint white chocolate with oil-based coloring. Coordinate sprinkles, edible glitter, and fondant accents to reinforce the palette.
- → Can these be made gluten-free?
Yes—choose a certified gluten-free cake mix or homemade gluten-free cake and verify that all mixes, coatings, and decorations are labeled gluten-free.
- → How far ahead can I prepare the pops?
Prepare and chill the formed balls a day ahead; after coating, store pops upright in an airtight container at room temperature for up to three days or refrigerated for up to a week.