 Save
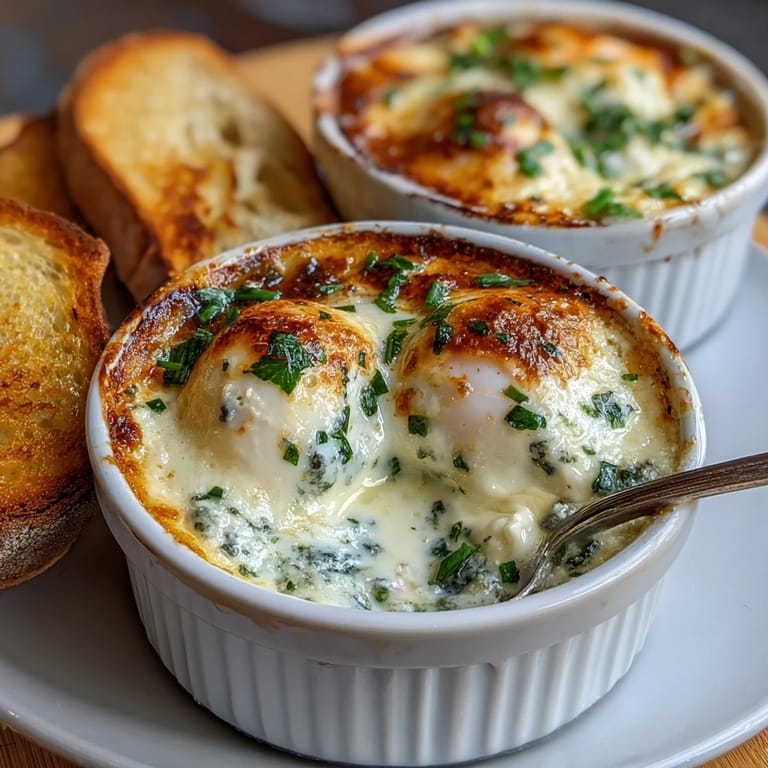
Save One chilly April morning, I found myself drawn to the kitchen by the lure of fresh chives poking through the garden soil. Instead of my usual scrambled eggs, I decided to try something a bit more refined—eggs en cocotte—letting the early spring herbs have a starring role. My windows were cracked open to let in the crisp air, and as the oven warmed, the kitchen filled with the promise of something celebratory yet comforting. There's a joy in layering each ingredient and knowing soon a spoon will slip through creamy, fragrant eggs. Since then, this dish has become my go-to for brunches that need a bit of understated elegance.
I once served these baked eggs to friends gathered around a sunlit table adorned with fresh tulips, laughter echoing as we all marveled at how something so simple tasted so indulgent. One guest claimed she'd never return to plain fried eggs again afterwards.
Ingredients
- Unsalted butter: Greasing the ramekins prevents sticking and dotting each dish on top creates delicious golden pockets.
- Heavy cream: Pouring cream under the eggs gives every bite a silky, decadent texture that’s worth every calorie.
- Grated parmesan cheese: Adds a savory, nutty touch—freshly grated always melts best and tastes more intense.
- Large eggs: Make sure they’re fresh for the most beautiful yolks and optimal texture.
- Fresh chives, parsley, and thyme: Their brightness brings this dish to life—snip them just before using for maximum fragrance.
- Salt and freshly ground black pepper: Season right before baking for balanced flavor that doesn’t overwhelm the herbs.
- Optional – Extra chives or parsley: Scattering extra herbs right before serving adds a pop of color and freshness.
Tired of Takeout? 🥡
Get 10 meals you can make faster than delivery arrives. Seriously.
One email. No spam. Unsubscribe anytime.
Instructions
- Heat & prep:
- Preheat your oven to 375°F and set a kettle of water to boil—it’s the trick for achieving the luxurious set of the eggs in their water bath.
- Butter the dishes:
- Slather each ramekin generously with butter, making sure you catch every corner so nothing clings to the sides as it bakes.
- Add the creamy base:
- Spoon 2 tablespoons of cream into the bottom of each ramekin, enjoying how it softly pools and coats the base.
- Layer herbs & cheese:
- Scatter half the chopped herbs and a pinch of parmesan over the cream for bursts of fresh flavor in every mouthful.
- Crack the eggs:
- Gently crack two eggs into each ramekin, cradling the yolks so they stay whole—it’s a job easier done one at a time.
- Season & top:
- Sprinkle over salt, pepper, the rest of the herbs and cheese, then dot with butter for golden richness that melts beautifully.
- Prepare the water bath:
- Set ramekins in a deep baking dish and pour the boiled water in carefully, letting the steam already start to build an aroma in your kitchen.
- Bake to perfection:
- Slide the dish into the oven and bake for 12 to 15 minutes, just until the whites set but the yolks quiver when you wiggle the pan gently—add a couple more minutes if you like a firmer yolk.
- Finish & serve:
- Let the ramekins rest for a couple minutes before serving; the eggs finish setting and the tops become even silkier. Top with fresh herbs if you want a little extra color and brightness.
 Save
Save  Save
Save The first time I brought these eggs to the table still nestled in their ramekins, my family sat up straighter in their seats. It was the look on their faces—equal parts intrigue and anticipation—that made this recipe a lasting part of our special mornings.
Make It Your Own
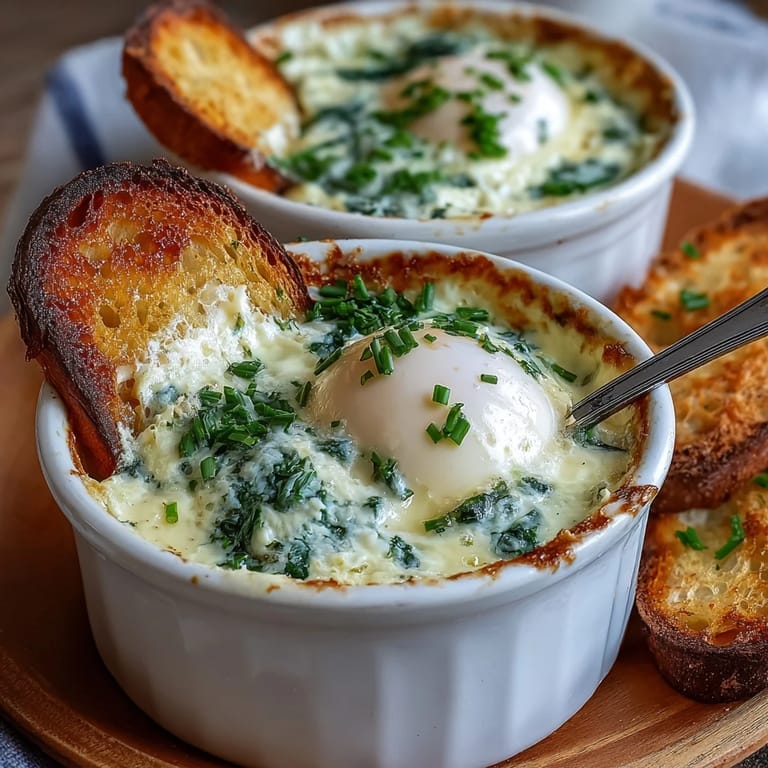
It's astonishing how customizable these eggs can be; sometimes I'll sneak in a layer of sautéed spinach or even a bit of smoked salmon beneath the eggs for a twist. Changing up the cheese or herbs is a playful way to keep things interesting and suitable for whoever's at breakfast.
Choosing the Right Bakeware
Ramekins are classic, but I’ve even used sturdy teacups in a pinch—just make sure they’re oven safe. They help control the cooking and make for an elegant individual presentation, turning each serving into a small ritual.
Serving Suggestions That Steal the Show
Warm, crusty bread or toasted brioche makes the perfect vehicle for scooping up every last bit of herby custard and molten yolk. If you want to keep it light, a simple green salad on the side is all you need to round out the meal.
- Fresh herbs as garnish always look gorgeous against the creamy egg.
- Serve directly in the ramekin—people love peeling back the lid of steam.
- Remember to warn guests the dishes are hot!
 Save
Save  Save
Save No matter who I serve these to, there’s always a moment of quiet as spoons break through the creamy surface—it’s a tiny luxury worth sharing on even an ordinary day.
Recipe Questions & Answers
- → Why bake the ramekins in a water bath?
The hot water bath creates gentle, even heat around the ramekins so the custard sets slowly and egg whites cook without becoming rubbery, yielding creamy texture and tender yolks.
- → How can I tell when the eggs are done?
Look for set egg whites and slightly wobbly yolks. Bake 12–15 minutes for soft yolks; add 2–3 minutes for firmer yolks. Let rest 1–2 minutes before serving to finish setting.
- → What ramekin size should I use?
Use 6-ounce (about 175 ml) ramekins. That size holds two eggs plus cream and toppings without overflowing during the water bath.
- → Can I prepare components ahead of time?
You can grate cheese, chop herbs and butter the ramekins ahead. Crack the eggs into ramekins right before baking for best texture; assemble layered bases in advance if needed.
- → What are easy variations to change the flavor?
Add a thin layer of smoked salmon, sautéed spinach, or mushrooms to the bottom of each ramekin. Swap parmesan for Gruyère or goat cheese for different savory notes.
- → How should leftovers be stored and reheated?
Store cooled portions in an airtight container in the fridge for up to 48 hours. Reheat gently in a low oven (300°F/150°C) until warmed through to preserve texture, or use a short microwave burst covered to avoid drying.