 Save
Save I discovered this recipe by accident while scrolling through my phone during a heat wave, watching someone blend cottage cheese into something that looked impossibly creamy. My first thought was skeptical—cottage cheese in ice cream?—but curiosity won. Twenty minutes later, I was holding a bowl of the tangiest, most protein-packed dessert I'd ever made, and I couldn't stop eating it straight from the freezer.
I made this for my roommate on a Friday night when she came home exhausted, and watching her take that first bite—then immediately ask for the recipe—felt like a small victory. She's been making her own batches ever since, tweaking the sweetness to her preference.
Ingredients
- Full-fat cottage cheese (2 cups): This is your secret weapon; the fat content is what makes it creamy instead of icy, so don't skip it or substitute with low-fat.
- Honey or maple syrup (1/3 cup): Liquid sweeteners blend smoother than granulated sugar and give the ice cream a better texture, though you can adjust based on how sweet you like things.
- Pure vanilla extract (1 teaspoon): The vanilla rounds out the tanginess and makes the whole thing feel intentional instead of experimental.
- Salt (pinch): This tiny pinch enhances sweetness and balances the tang in a way that makes people wonder what your secret is.
- Fresh berries, chocolate chips, or nut butter (optional mix-ins): Whatever you choose should be ready to fold in after blending, or layer in for visual appeal.
Tired of Takeout? 🥡
Get 10 meals you can make faster than delivery arrives. Seriously.
One email. No spam. Unsubscribe anytime.
Instructions
- Blend the base:
- Add the cottage cheese, honey, vanilla, and salt to your blender and blend on high speed until everything is completely smooth and creamy, which takes about a minute or two. You might need to stop and scrape the sides down once or twice because cottage cheese can stick, and chunks will ruin the whole silky thing you're going for.
- Fold in your mix-ins:
- Once the base is perfectly smooth, use a spatula to gently fold in whatever mix-ins you've chosen—berries, chocolate chips, or nut butter. This keeps everything evenly distributed and prevents over-mixing.
- Transfer to the freezer:
- Pour the mixture into a freezer-safe container and smooth the top with your spatula so it freezes evenly. If you want ripples of caramel or jam, swirl them in now before everything solidifies.
- Freeze and rest:
- Let it freeze for 2 to 4 hours depending on how firm you like your ice cream; 2 hours gives you a soft-serve consistency, while 4 hours is perfect for scooping. Before serving, let it sit at room temperature for 5 to 10 minutes so your scoop doesn't fight you.
 Save
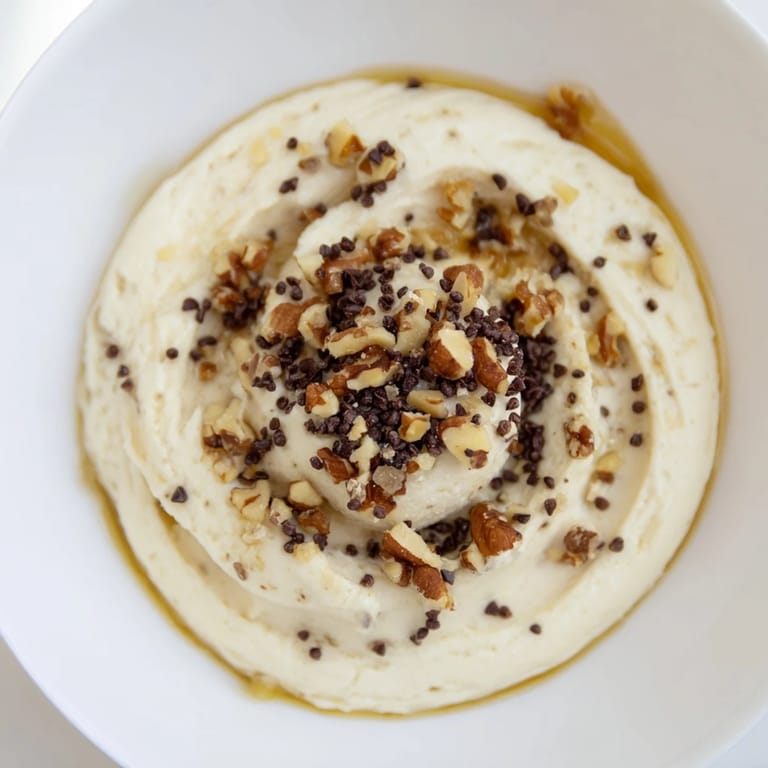
Save There's something almost magical about how cottage cheese transforms when you blend it—it goes from something you'd eat with berries for breakfast into something you'd serve guests for dessert and not tell them what it is. A friend once guessed it was mascarpone, and I let her believe it for longer than I should have.
Making It Your Own
The beauty of this recipe is that it's a canvas. You can blend in cocoa powder for a chocolate version, add a tablespoon of instant coffee for a mocha situation, or swirl in fruit preserves before freezing for that ripple effect the comments always mention. The base stays the same; you're just playing with flavor.
Texture and Consistency Tips
If you find your ice cream too hard after freezing, that's because the cottage cheese mixture doesn't contain the gums and stabilizers of regular ice cream. Letting it sit out for 5 to 10 minutes before scooping is actually part of the recipe, not a workaround. If you want it closer to soft-serve, pull it from the freezer after 2 hours instead of waiting the full 4.
Storage and Serving Ideas
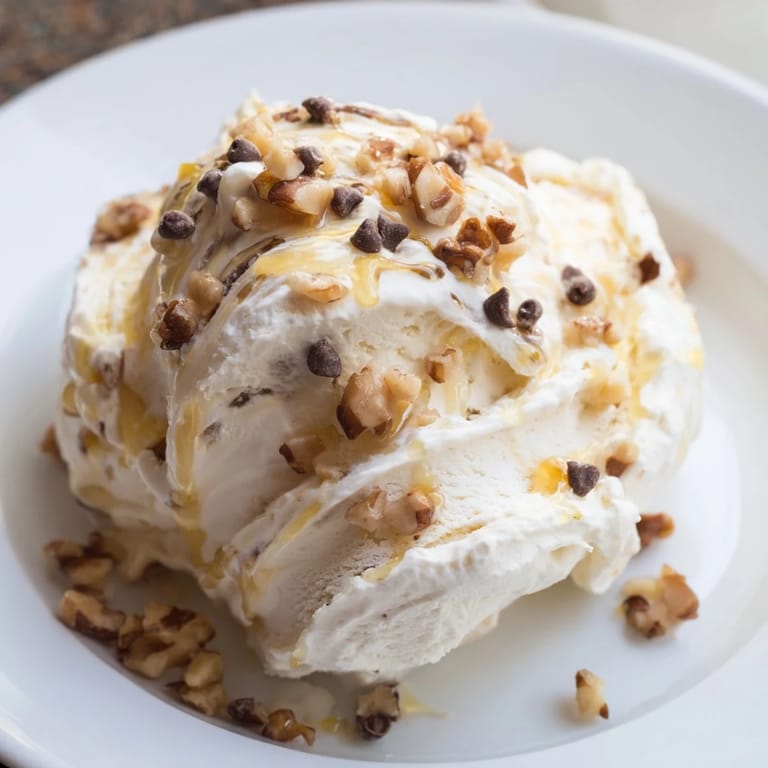
This keeps in the freezer for up to two weeks, though honestly it never lasts that long in my house. The texture is best within the first few days while it's still smooth and creamy. Serve it in a bowl with granola, a drizzle of honey, or just by itself with a spoon while you're standing in your kitchen thinking about how you made restaurant-quality ice cream in less time than it takes to drive to an ice cream shop.
- Pair it with fresh berries or a sprinkle of granola for texture contrast.
- Drizzle with a little caramel sauce or honey before serving if you want to feel fancy.
- Keep it in the coldest part of your freezer so it scoops beautifully.
 Save
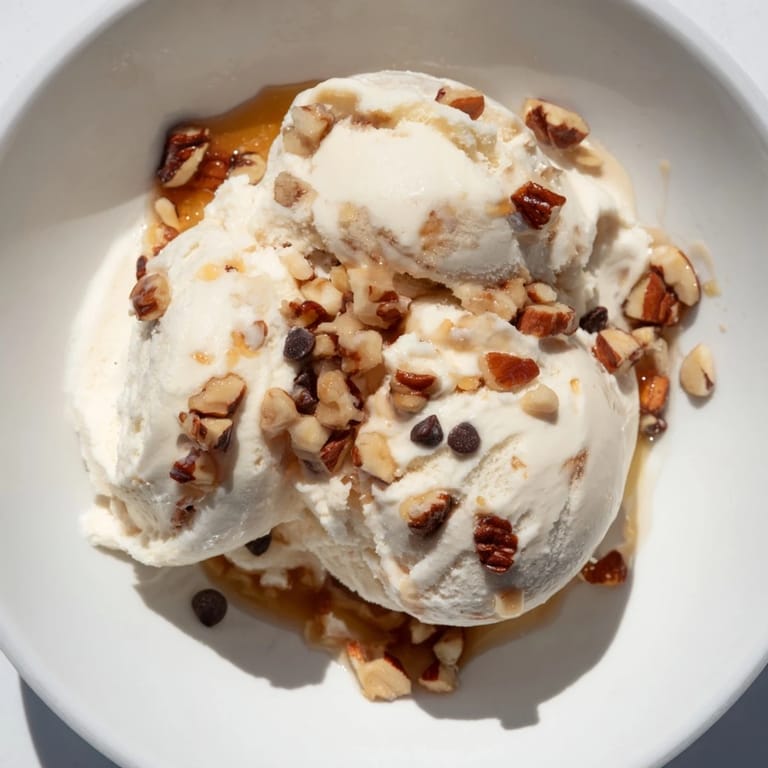
Save This recipe proved to me that the most impressive things sometimes start with the simplest ingredients. Now whenever someone asks what I'm making, I say it with confidence instead of apology.
Recipe Questions & Answers
- → What can I use instead of honey or maple syrup?
You can substitute with agave nectar, date syrup, or a sugar-free syrup according to taste preferences or dietary needs.
- → Can I make this without a blender?
While a blender ensures a smooth texture, you can try using a food processor or vigorously whisking the ingredients, though it may be less creamy.
- → How do mix-ins affect freezing time?
Mix-ins like nuts or chocolate chips generally do not significantly change freezing time but add texture contrast to the creamy base.
- → Is it necessary to let the dessert sit before scooping?
Allowing it to sit at room temperature for 5–10 minutes softens the frozen treat, making scooping easier and enhancing creaminess.
- → Can I prepare this ahead of time?
Yes, you can blend and freeze it in advance. Just store it in a freezer-safe container and keep it frozen until ready to serve.